
When you find yourself in front of a mirror with three palettes, a questionable brush, and no idea of the order of steps, the result quickly turns into raccoon eyes. Eye makeup is based on a simple logic: prepare the eyelid, apply the colors in the right places, and then trace and define the look. Mastering these steps in order avoids most mishaps, even with basic tools.
Primer and eyelid base: the layer that no one wants to apply
The eyelid produces sebum all day long. Without a base, the eyeshadow migrates into the crease within a few hours, especially in hot weather. Applying an eyeshadow primer before any eyeshadow radically changes the wear and intensity of the colors.
You apply a tiny amount (a grain of rice is enough for both eyes) and pat it with your ring finger all over the mobile eyelid, up to the eyebrow. The primer creates a slightly adhesive surface that prevents the pigments from sliding.
If you don’t have a dedicated primer, a thin layer of concealer can serve as a suitable substitute. Feedback on this point varies depending on skin textures, but the principle remains the same: never apply eyeshadow on a bare eyelid. Knowing how to properly apply eye makeup starts with this step that many skip, and which conditions everything else.
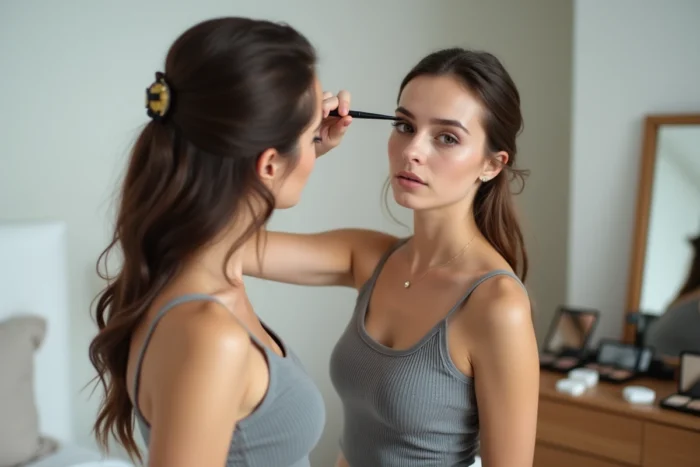
Eyeshadow: color placement according to eye shape
The majority of failures in eye makeup come from poor placement of the eyeshadow, not from a bad color choice. Only three areas matter: the mobile eyelid, the crease (the natural fold above), and the brow bone.
The rule of three zones
- The mobile eyelid receives the main shade, the one you want to see at first glance. To start, a golden beige or nude pink works on most skin tones.
- The crease of the eyelid welcomes a darker shade, blended in windshield wiper motions with a fluffy brush. It’s this shadow in the fold that creates depth and gives dimension to the look.
- The brow bone receives a bright touch (light, matte, or satin shade) that opens the eyes upwards.
Adapting colors to your iris
Brown eyes gain brightness with cool tones: purple, plum, navy blue. Blue or gray eyes stand out more with warm shades like copper, orange, or warm brown. For green eyes, burgundy and dark pink create a sharp contrast.
When starting out, it’s better to work with a maximum of two eyeshadows rather than five. A light shade on the mobile eyelid and a medium shade in the crease are enough for a clean and structured result.
Tightlining and pencil line: defining the look without effort
Liquid eyeliner in a cat wing is spectacular, but it’s also the most difficult technique to master when you’re starting out. Before getting there, tightlining offers a discreet and much more accessible result.
Tightlining involves applying a pencil between the lashes, directly on the lash line, without drawing a visible line above the eyelid. You slightly lift the eyelid with a finger and fill in the spaces between each lash with a brown or black pencil.
The result gives the impression of denser lashes without any apparent line. For those who want to go further, connecting these little dots into a fine line along the upper lashes creates a subtle liner, far from a graphic line.
The lower waterline, a common trap
Applying black pencil on the lower waterline (the wet line) visually closes the eyes. A beige or nude pencil on the lower waterline opens the eye and gives a more awake appearance. It’s a simple substitution that changes the perception of the look, particularly useful for small eyes or drooping eyelids.
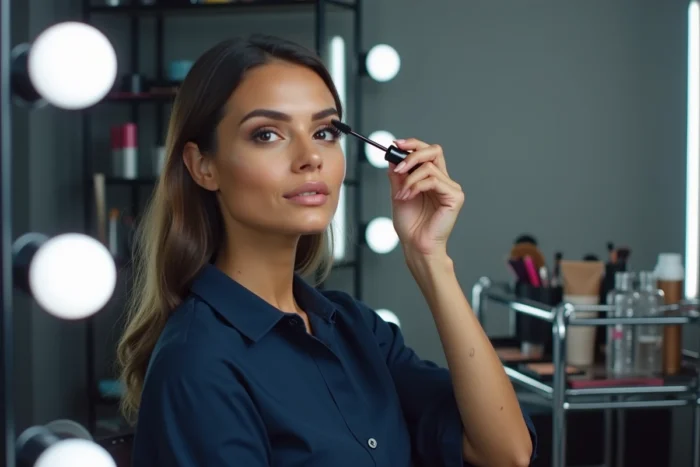
Mascara and eyebrows: the finishing touches that structure the look
Mascara is applied last on the eyes. Two coats on the upper lashes are sufficient. You apply the brush at the base of the lashes and sweep up in a light zigzag to separate and coat each lash. The lower lashes receive a single thin coat, holding the brush vertically to avoid clumps.
The most common mistake: pumping the brush in the tube. This motion pushes air into the product, which dries and forms clumps. You should twist the brush inside the tube, without back-and-forth motions.
Eyebrows are part of eye makeup
Leaving eyebrows untouched above worked eyelids creates an imbalance. A simple upward brushing with an eyebrow brush, followed by a clear gel to set the shape, is enough to frame the look.
For sparse areas, a brow pencil with short, light strokes mimics natural hair. You don’t fill in the entire surface: only correct the visible gaps. A clean brow frames the look better than any eyeshadow.
- Brush the hairs upwards with a dry brush
- Correct empty areas with a fine pencil, using small strokes in the direction of hair growth
- Set with a clear or tinted gel to maintain the shape all day
Eye makeup consists of four steps in the correct order: base, eyeshadow, line, mascara. The eyebrows lock everything in place. There’s no need to pile on products or replicate complex looks to achieve a clean look. Two well-placed eyeshadows, a pencil applied at the base of the lashes, and a clean coat of mascara do the job.