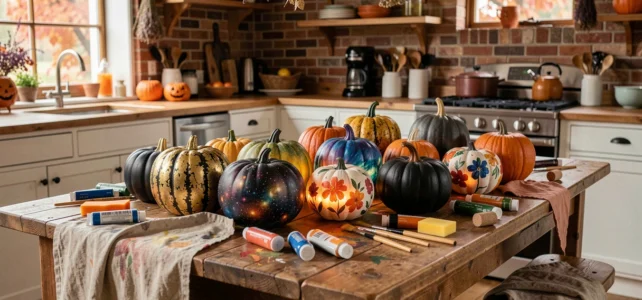
Pumpkin painting is increasingly replacing traditional knife carving. Less messy, more accessible for children, and adaptable to all decorative styles, this approach allows for creating pieces that last several weeks without rotting from the inside. Here are ten concrete techniques to transform your gourds into centerpieces for your Halloween decor.
1. Pumpkin dipped in matte black paint
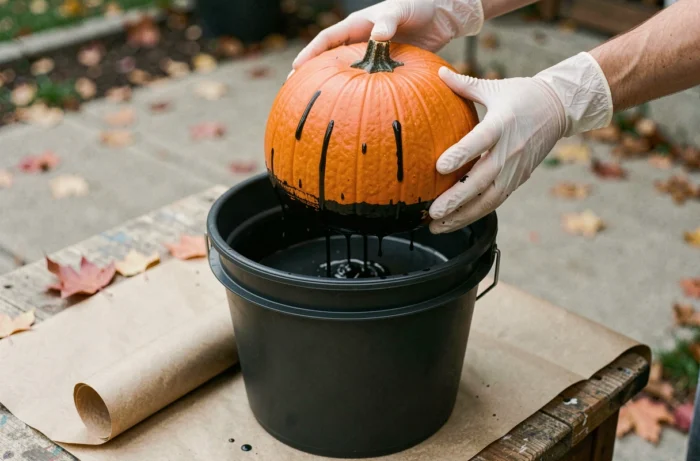
Dipping the top half of a pumpkin into a bath of matte black acrylic paint creates a striking graphic effect. The contrast between the raw orange of the bottom and the black of the top is enough to set a Halloween mood without any additional patterns.
To achieve a clean result, pour the paint into a container wider than the pumpkin. Hold it upside down for a few seconds, then let it dry on parchment paper. Two coats are enough for a deep, even black.
If you’re looking for more pumpkin painting ideas, the dipping technique can also be done in gold or off-white for a more chic look.
2. Polka dot patterns with finger or cork
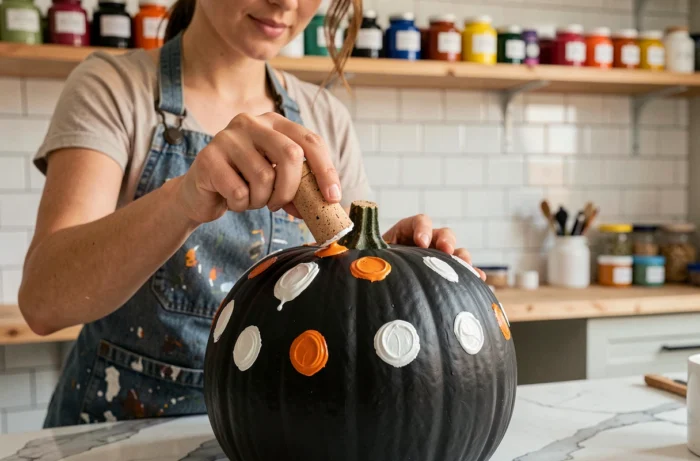
A cork dipped in white, gold, or silver paint works as a perfect stamp. Each dot is consistent, and children can master the motion from the age of three.
Space the dots evenly or create a gradient of density from top to bottom. The cork produces sharper circles than a round brush. Vary the sizes by using a water bottle cork for small dots and a wine cork for larger ones.
3. Galaxy pumpkin with a sponge
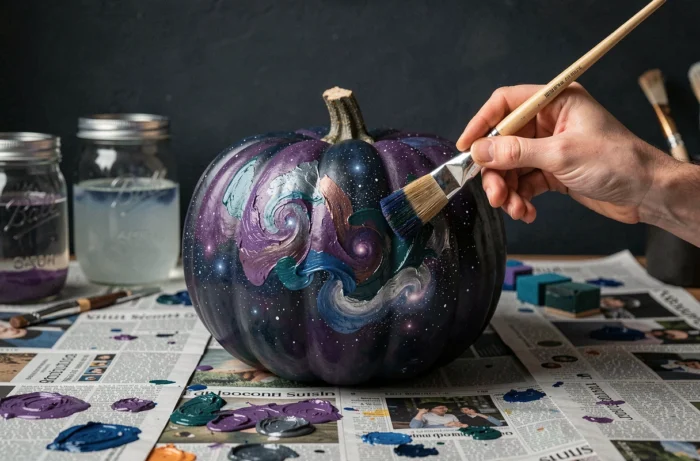
Apply a black base over the entire surface. Once dry, dab touches of midnight blue, purple, and dark pink with a natural sponge. Finish with fine splatters of white paint (by tapping a loaded brush) to simulate stars.
The natural sponge creates irregular textures that a brush cannot replicate. The result resembles a nebula, and each pumpkin becomes unique. This technique works well on both fresh pumpkins and reusable rigid foam pumpkins from year to year.
4. Minimalist monster face with a Posca marker
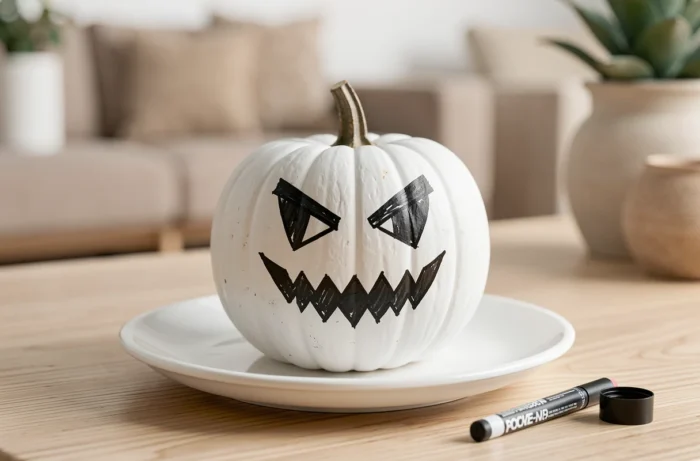
First, paint the pumpkin white or cream. Let it dry overnight. The next day, draw a monster face with a wide-tipped black paint marker.
The minimalist style relies on few lines: two asymmetrical round eyes, a zigzag mouth, and a few dots for freckles. The less you do, the more readable the expression is from a distance. Why this choice? Because a Halloween decoration is often viewed from the sidewalk or the landing.
5. Marbled pumpkin with nail polish
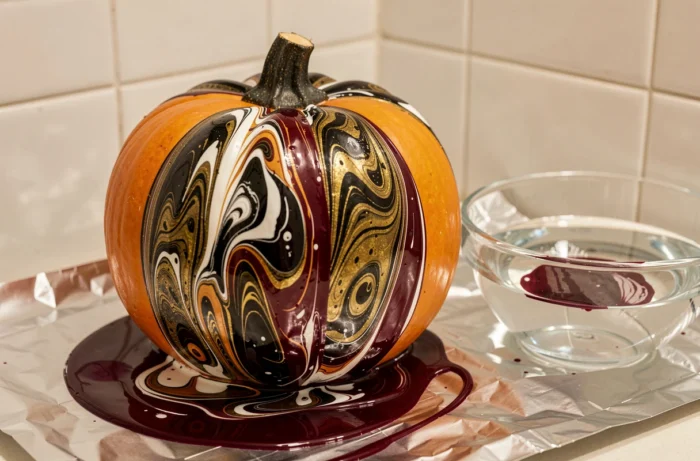
Fill a container with warm water, drop a few drops of different colored nail polish on the surface, then create swirls with a toothpick. Dip the pumpkin into the water: the polish film settles on the surface in a random marbled pattern.
Nail polish adheres better to a pumpkin that has been lightly sanded with fine sandpaper. A light sanding removes the natural waxy layer from the skin and allows the polish to last for several weeks.
6. Spider web stencil with spray paint
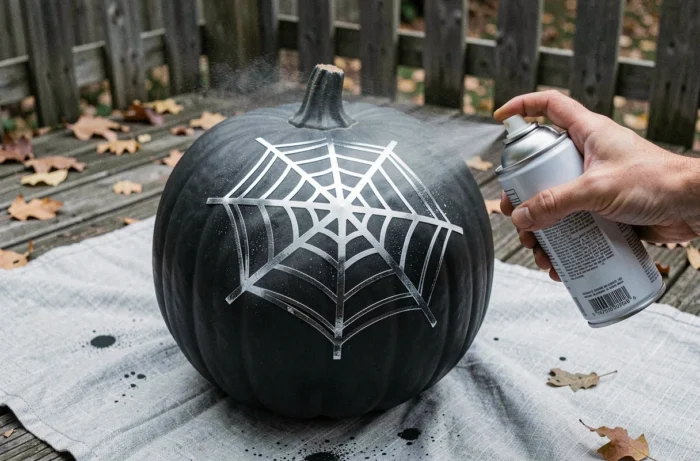
Cut a spider web stencil from repositionable adhesive paper. Stick it on a painted black pumpkin, then spray a thin layer of white spray paint. Remove the stencil before it dries completely for clean edges.
Work outdoors or in a ventilated area. The spray covers a large surface quickly, making this technique fast for decorating several pumpkins at once. Stencils can be found in craft stores or cut from adhesive vinyl.
7. Gold leaf pumpkin
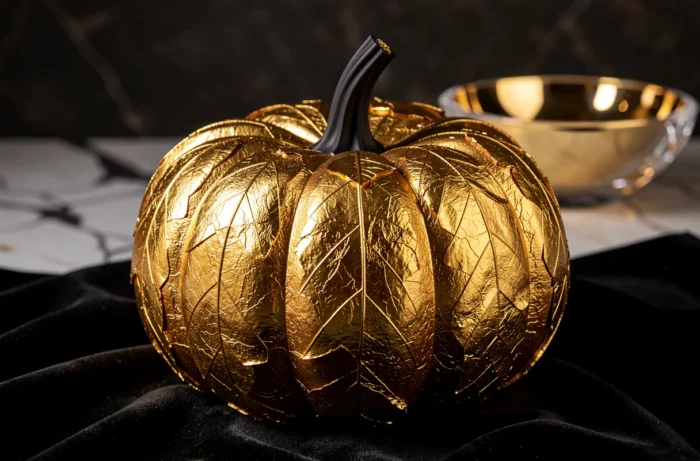
Apply a layer of gilding glue (size) on the surface of the pumpkin, wait for it to become clear and tacky, then lay down gold or imitation gold leaf in small sections.
The cracks and imperfections are part of the charm. The gold leaf transforms a simple gourd into a high-end decorative object. This finish is suitable for interiors where Halloween means elegance rather than fright. Pair it with matte white pumpkins for a refined autumn centerpiece.
8. Terrazzo pumpkin with multicolored splatters
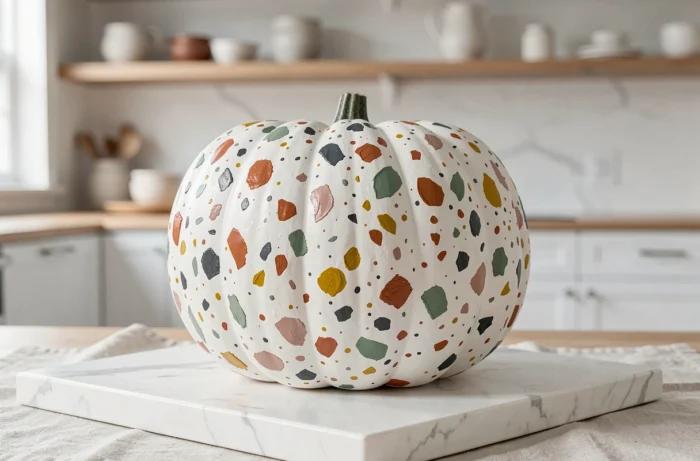
Paint the pumpkin white. Load a stiff-bristled brush with acrylic paint, then splatter colors by pulling on the bristles. Repeat with three or four colors: terracotta, sage green, black, mustard.
The result resembles terrazzo, a trendy material in interior decor. A few rules for a harmonious result:
- Limit yourself to a maximum of four colors, including one dominant color
- Protect the work surface with newspaper, as splatters can go far
- Rotate the pumpkin a quarter turn between each color to cover the entire surface
9. Floral pumpkin with acrylic paint
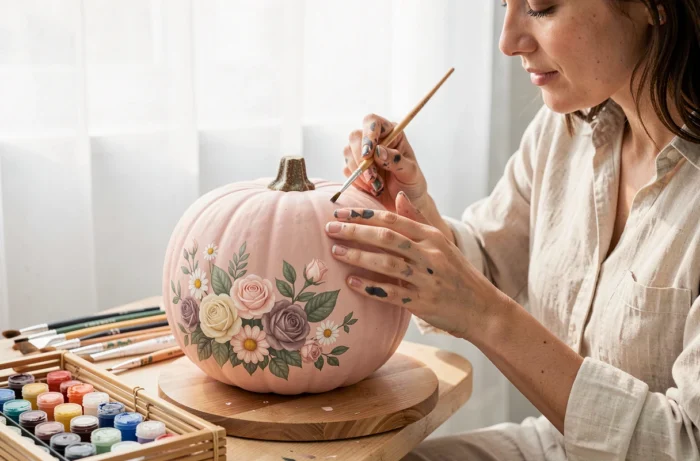
Apply a white or pastel base, then paint stylized flowers with a fine brush. Roses, peonies, sunflowers: floral patterns divert the pumpkin from the macabre universe to make it a fall decoration usable well beyond Halloween.
No need to be an illustrator. Simple shapes (circles for petals, dots for the center) give a very trendy naive style. Round-tipped brushes in size 4 or 6 make it easier to create regular curves.
10. Glow-in-the-dark pumpkin with glow-in-the-dark paint
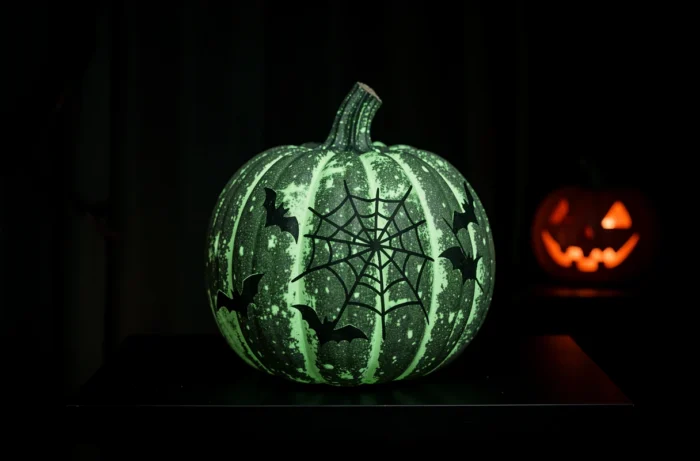
Glow-in-the-dark paint absorbs daylight and releases it in the dark. Apply two to three thick layers on a pumpkin previously painted white (the light background increases the light charge).
Expose the pumpkin to direct light for at least an hour before nightfall. The result surprises guests as soon as the lighting dims. Combine with black-painted eyes or mouth for a striking ghost effect in the entryway or garden.
Painting a pumpkin allows for varying styles from year to year without ever needing a knife. For those who wish to keep their creations, rigid foam or ceramic pumpkins can accept all these techniques and be stored after the season to be reused the following autumn.