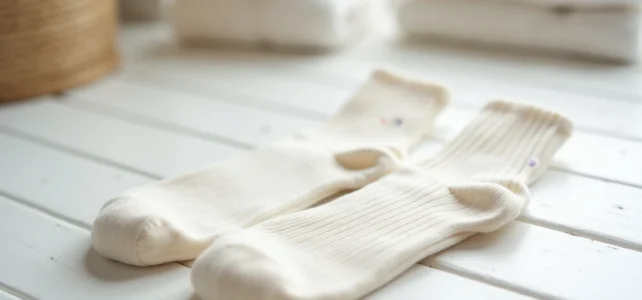
We take the socks out of the dryer, vaguely pair them by color, and stuff them into the drawer. The next morning, discomfort at the big toe or a crease under the arch reminds us that we’ve put on the sock the wrong way. This little inconvenience has a simple technical explanation: many models are slightly asymmetrical, and a few concrete markers allow you to find the right foot in two seconds.
Anatomical heel and seams: the tactile clues of a sock
Before looking for a label or marking, you can identify the correct foot by touch. The alignment of the heel remains the most reliable marker: on a well-designed sock, the heel pocket forms a pronounced curve that only aligns perfectly with the heel bone in one direction. If you feel excess fabric on the top of the foot or a crease under the ankle, the sock is reversed.
The seams provide a second clue. On most models, the toe closure seam is placed on the top of the foot or slightly shifted outward. By running your thumb inside the sock, you can quickly locate this little bump of thread. A seam that rubs under the toes almost always indicates a sock that is turned inside out or put on the wrong way.
For those who want to systematically recognize the foot of each sock, these two markers (heel and seam) are sufficient in the vast majority of cases, even with half-closed eyes in the morning.

Sports socks and reinforced areas: when asymmetry becomes visible
Technical sports socks take the logic further. They often incorporate an asymmetrical shape with different reinforced areas between the left and right foot. For example, on a hiking or trail model, there is a thicker reinforcement on the outer edge of the foot (support area) and a finer knit on the instep for ventilation.
This type of sock usually has an “L” and “R” (or “G” and “D”) marking embroidered near the ankle or under the arch. You can feel it by touch: the letters form a slight relief in the knit.
Concrete markers on a technical sock
- The heel area falls exactly on the heel of the foot, without any crease. If excess fabric rises towards the Achilles tendon, it’s the wrong foot.
- The arch reinforcement (tighter elastic band under the foot) conforms to the inner arch. When worn inside out, this band compresses the outer edge, causing immediate discomfort.
- The ventilation channels (more breathable mesh areas) are positioned on the top of the foot. If you feel them under the sole, the sock is misaligned.
- The embroidered “L/R” marking is read correctly when looking at the sock laid flat, heel down.
On running or hiking models, wearing the sock the wrong way negates the benefits of the reinforcement and can lead to the development of calluses or chafing in the most stressed areas.
Classic cotton or wool socks: the case of symmetrical models
The majority of everyday socks (cotton, wool, blended fibers) are technically symmetrical straight from the factory. They do not have a designated left or right foot. Opinions vary on this point, as after a few washes and several uses, the sock deforms and takes the shape of the foot that has worn it.
The heel wears and molds differently depending on the foot, creating acquired asymmetry. This is easily noticed when laying two socks from the same pair flat: the curvature of the heel tilts slightly to one side.
How to maintain the correct attribution after washing
The problem mainly arises when it’s time to re-pair the clean socks. A few simple methods prevent losing the benefit of this “memory shape”:
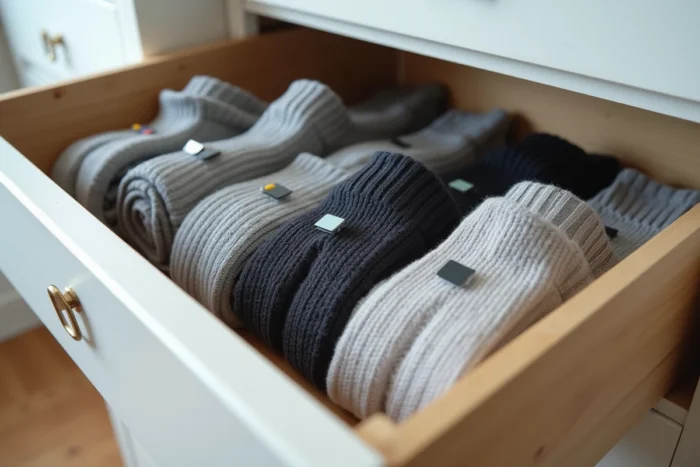
- Fold each pair together before putting them in the laundry (a quick loose knot or a sock clip will do).
- Discreetly mark a point with fabric marker on the left sock, inside the cuff. One point is enough to distinguish the two feet for months.
- Buy socks in lots of the same color: if you lose a marking, you can reassign without consequence since all pairs are interchangeable before deformation.
For thick wool socks, the deformation is more pronounced and faster. After two or three uses, the shape of the foot is imprinted in the fiber. Consistently putting the right sock on the right foot extends the lifespan of the pair, as wear remains uniform.
Putting on a sock without looking: the three-step method
In daily life, we don’t want to turn a sock inside out to find a seam or marking. Here’s the quickest sequence, applicable even in the dark.
Grab the sock by the cuff (the opening). Slide your thumb inside up to the heel pocket. Orient the curve of the heel towards the back of the ankle, and put it on. If the heel naturally falls on the bone, it’s the right foot. If the fabric pulls or creases on top, reverse it.
This gesture takes less than two seconds once automated. On new and perfectly symmetrical socks, the direction doesn’t matter. On regularly worn pairs, the difference in comfort is noticeable from the first steps.
The next time you empty the dryer, run your thumb through the heel before rolling the pair. This little reflex is enough to keep each sock assigned to the right foot, preserve the reinforcements, and avoid creases that end up irritating the skin throughout the day.